How-To-Guide | Youth Design Camp
How-To-Guide | Youth Design Camp
INTRODUCTION
In the summer of 2023, R.L. Brown Foundation director, Alice Hilton, and Blueprint Kentucky Extension Specialist, Mercedes Fraser collaborated to host the Sharpsburg Youth Design Camp in Sharpsburg, Kentucky. The Youth Design Camp was a 3-day immersive program that aimed to equip students with design principles and how those can be applied to community life. The Sharpsburg Youth Design Camp was built on 2 main program components: a Design Thinking Process Presentation and an Asphalt Mural Installation.
The Sharpsburg Youth Design Camp was from 10am-2pm, July 24th-26th, at the Sharpsburg Community Center, a strong community partner. Camp registration was open to students ages 12-15 and lunch was provided. The Sharpsburg Community Center was in an ideal location within walking distance of both the selected mural site and downtown Sharpsburg. Students were recruited via flyers, social media posts, and directly through the school system.
You can plan and implement a Youth Design Camp in your community. Read more to learn why and how!
COMMUNITY IMPACT
By including youth in the process of downtown revitalization of Sharpsburg, KY, the Youth Design Camp further developed a sense of identity within the community.
Youth Design Camp equipped students with another tool for addressing community issues. By utilizing the Design Thinking Process, the Asphalt Mural Installation not only beautified the neighborhood but also fostered a sense of pride and unity among residents, transforming once overlooked streets into vibrant communal spaces.
Are youth and their ideas currently engaged in your community and invested in its future?
Community partners are vital to the success of design camps. For the Sharpsburg Youth Design Camp, the following partners provided invaluable knowledge and resources and helped attain necessary permissions.
- Bath County Library - Sharpsburg Branch
- People’s Bank - Sharpsburg
- Department of Transportation
- Sharpsburg City Officials
- Sharpsburg Community Members
Let voices be heard! Which Community Partners need to be sitting at your table as you plan your own design camp or mural?
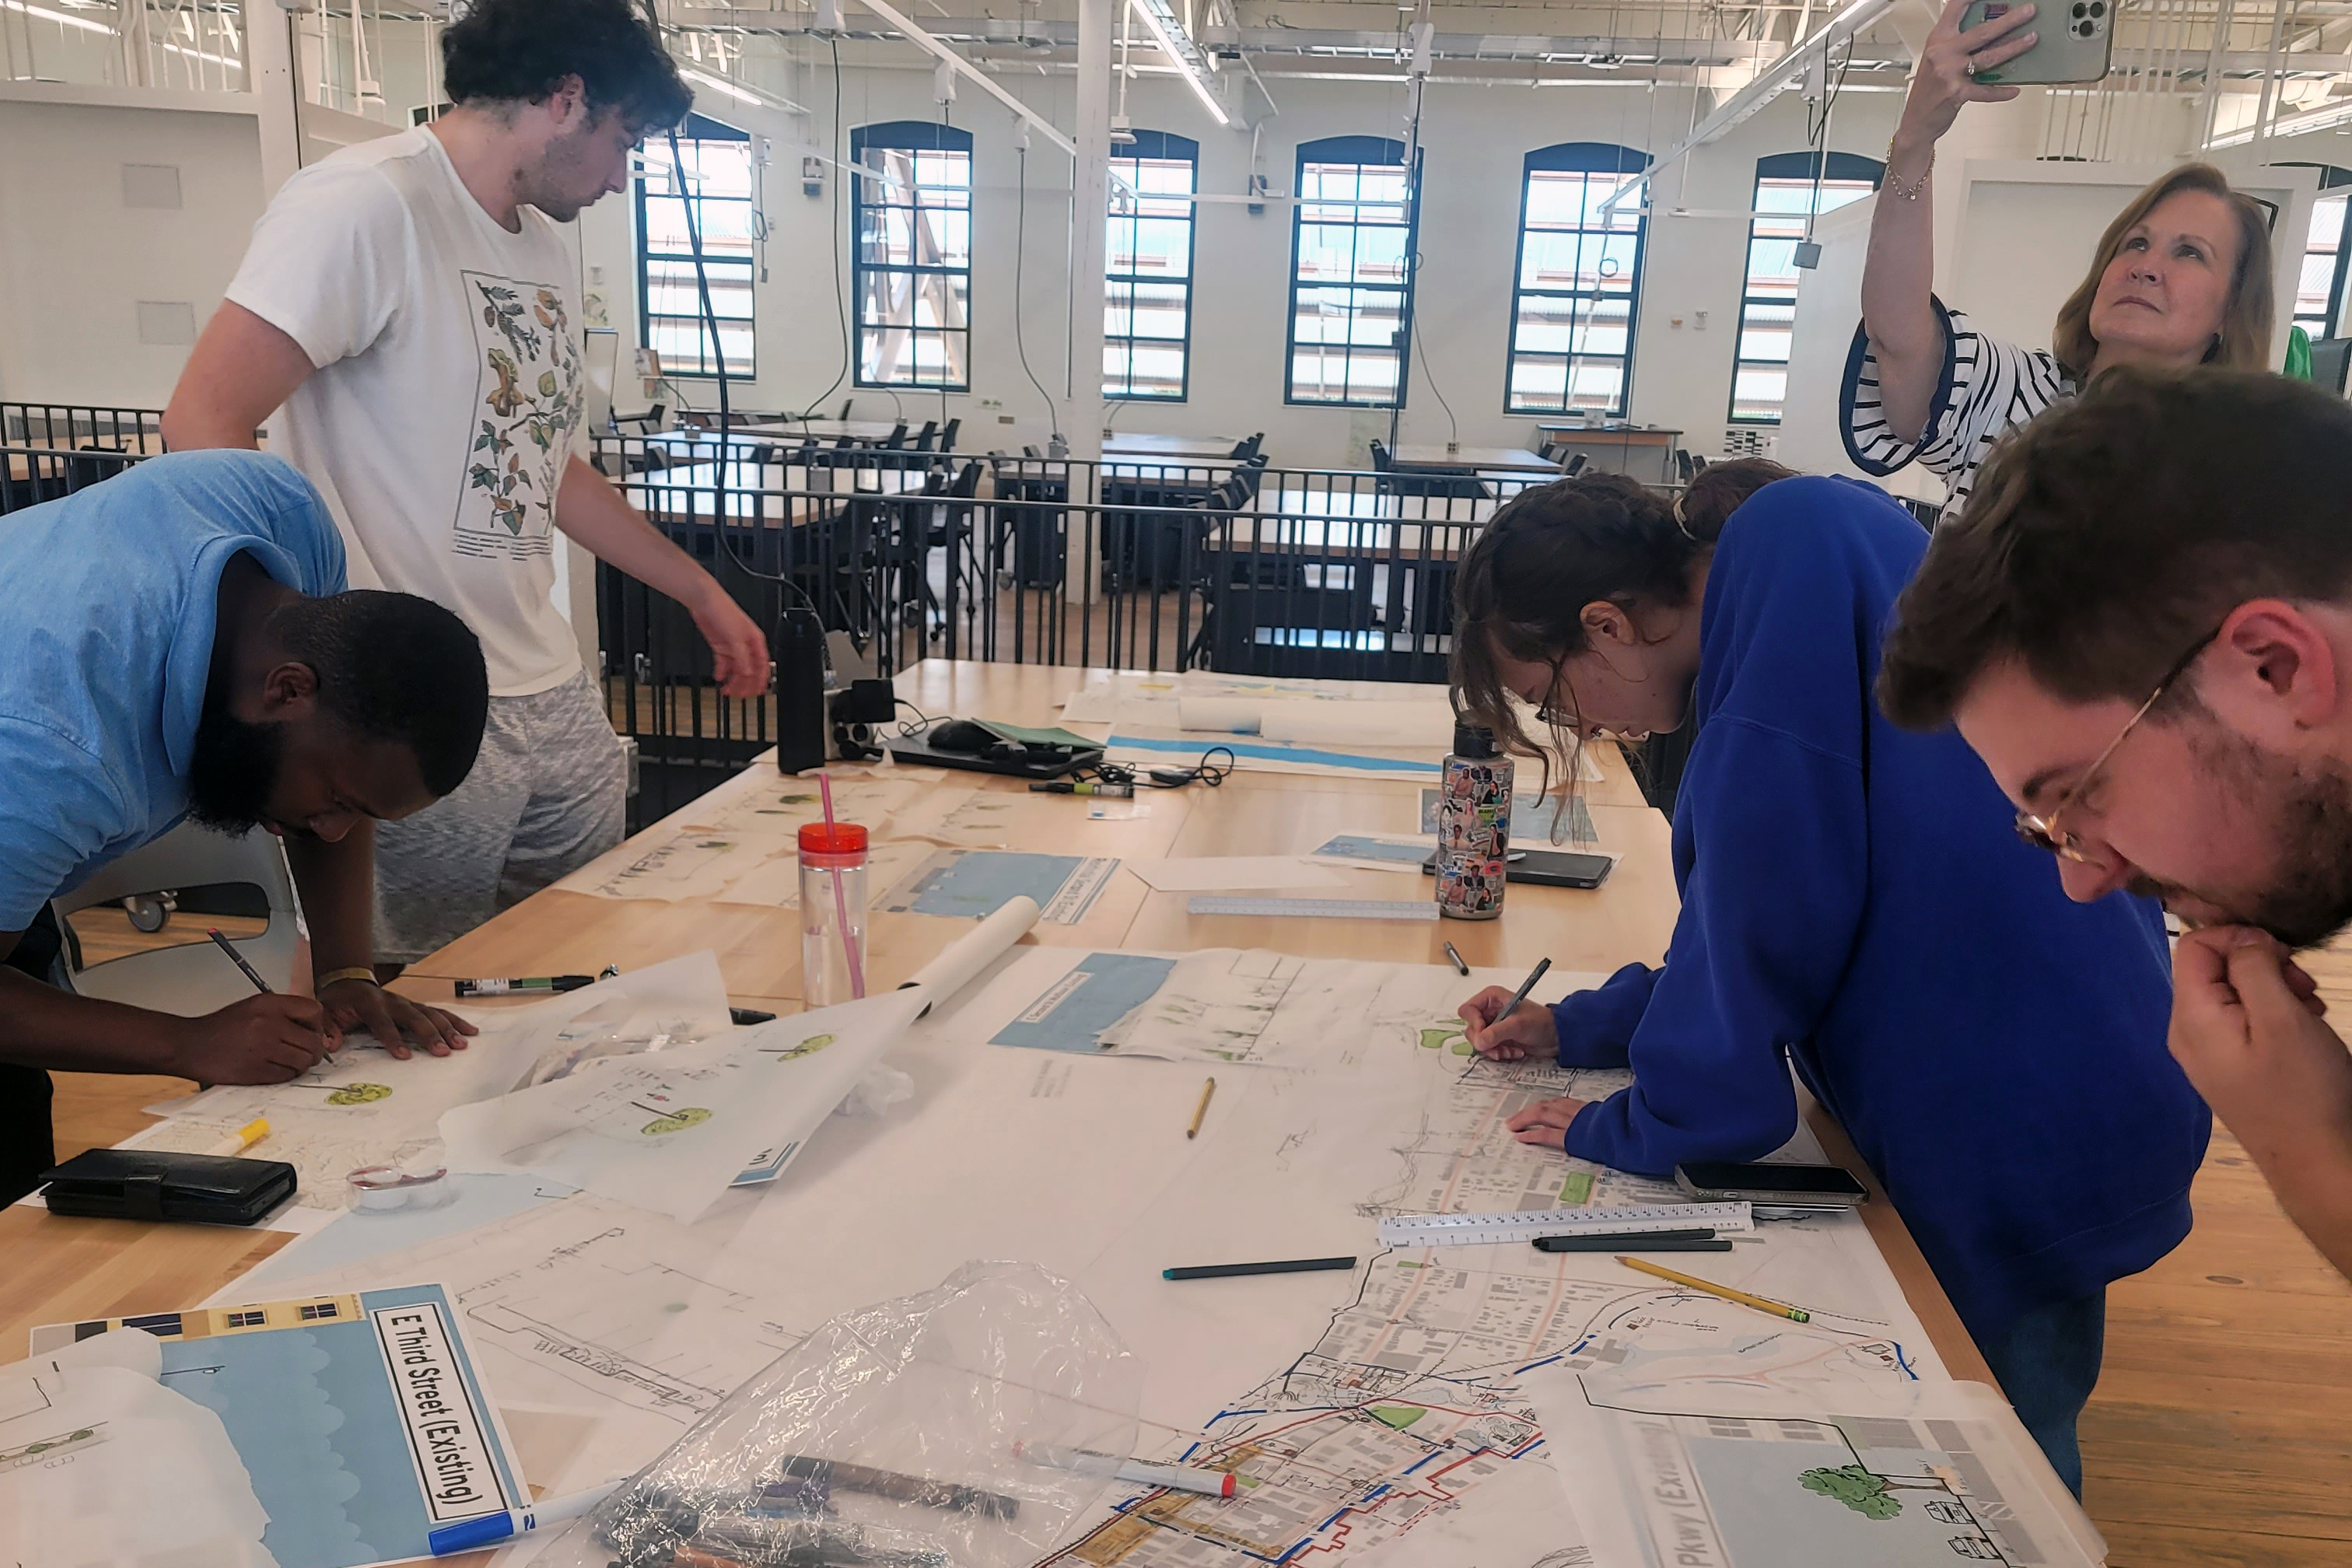
PLANNING
To prepare for the camp, many factors were considered for Sharpsburg Youth Design Camp (SYDC).
Cost: Camp materials, including asphalt mural items and lunches, should be taken into consideration
Student Recruitment: Think about working with local partners such as the school system, Cooperative Extension, and libraries to share information about the camp with the community.
Location: Utilizing your network of community partners is one way to secure a location for the Youth Design Camp.
Time Frame: Consider the barriers to participation for differing time frames such as working times for parents and guardians, limitations based on location, and lunch.
After logistics were sorted, agendas for the camp were developed. These agendas can be used as examples for planning your own design camp.
DAY ONE AGENDA
Introductions
Students introduced themselves through the Name Story icebreaker activity. In this activity, students are asked to share a story about their name, such as “How did you get your name?” or “What is something you like about your name?” This could be exchanged for any other icebreaker introduction.
Place it! Activity
SYDC used a variation of the Place It! Interactive Planning Method activity developed by urban planner James Rojas to encourage community visioning. Participants were first asked to use the materials provided to build a space they felt safe in. Participants were given 15 minutes to model their space, then given 3 minutes to share their model, highlighting why they chose certain components to represent materials.
Participants were then given a long piece of white paper and asked to work together to model a safe street for kids. Participants were given another 15 minutes to model, then asked to share.
Design Thinking Presentation
Participants were active during the Design Thinking presentation.
Crosswalk Installation
SYDC Leaders contacted the Kentucky Transportation Cabinet and asked that SYDC participants be able to observe a crosswalk being laid in downtown Sharpsburg. Students were encouraged to ask questions and engage with Kentucky Transportation Cabinet employees.
Tin Foil Boat Challenge
As a way to apply Design Thinking, participants finished the day with the Tin Foil Boat challenge.
Reflection
While waiting for pickup, participants were asked to reflect on the day and share what they learned. SYDC facilitated reflection through “Highs and Lows.” A SYDC Leader drew a mountain range with peaks and valleys on the board and asked each participant to share their “high” and “low” for the day.
Homework
Participants were asked to come to Day 2 with interesting stories/facts about Sharpsburg.
DAY TWO AGENDA
Recap
Participants began Day 2 by recapping the previous day and covering the day’s agenda.
Quilting
A Sharpsburg community member visited SYDC to share her experiences with quilting and show students examples of quilts she had created. Students also asked the community member to share stories of Sharpsburg.
Walking Tour
SYDC walked to downtown Sharpsburg, with Leaders asking participants to share what they learned of Sharpsburg. Leaders began a dialogue by asking questions such as, “What businesses do you need in Sharpsburg?”, “What do you like about downtown?”, “Do you feel safe in downtown?” Participants went into People’s Bank to see the History of Sharpsburg exhibit and ask questions. SYDC Leaders asked students to consider the importance of banks and other local small businesses in communities.
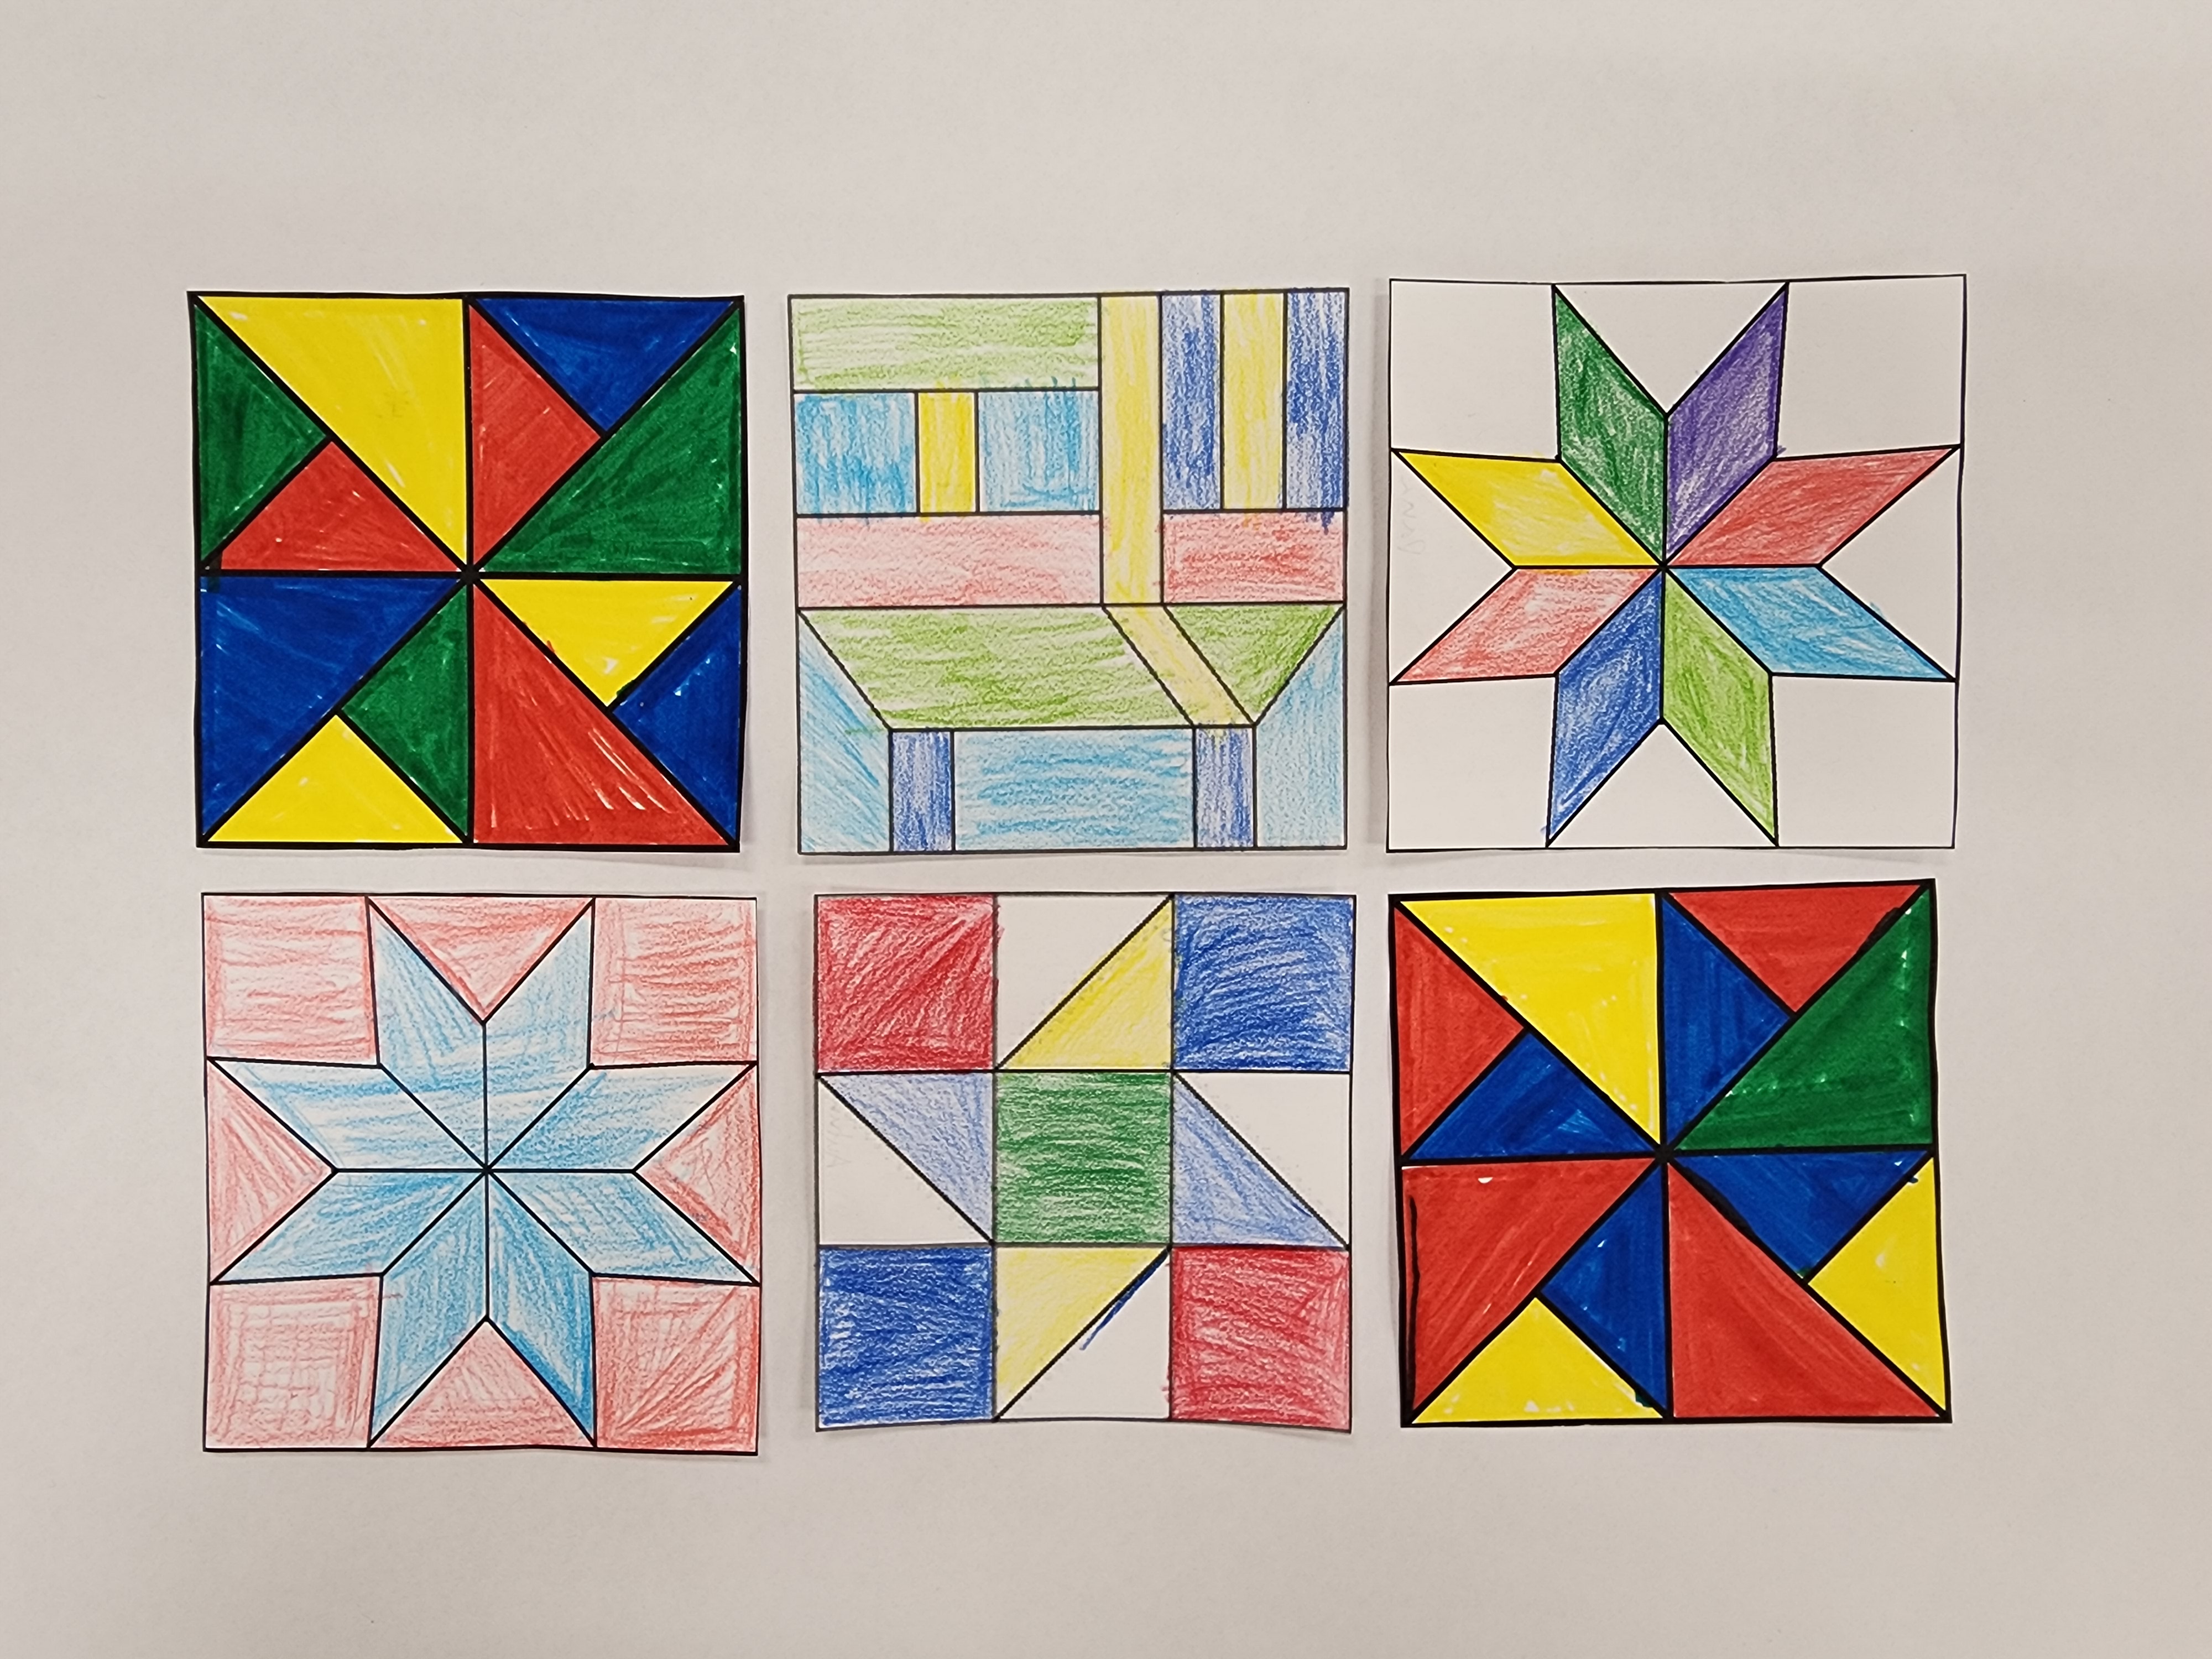
Design Quilt Blocks
Participants watched a video about the origin of quilt blocks on barns throughout the country.
Participants were given the choice of 6 different quilt blocks to choose from for their mural design. Participants were also given coloring pencils in the same colors as the paints that had been ordered for the mural. Participants were asked to share their designs and color choices.
Reflection
Participants engaged in “Highs and Lows” again as a reflection activity.
Homework
Participants were instructed to come to camp on Day 3 ready to work on their design in the mural. They were encouraged to wear old clothes and sunscreen and were reminded to bring water bottles.
Parents/guardians were told where the mural would be installed and were encouraged to pick up their student at the mural site.
SYDC leaders stayed late after Day 2 to layout the mural design, incorporating each participants quilt block. Leaders then taped out the mural design on the approved street.
DAY THREE AGENDA
SYDC leaders arrived early on Day 3 to set up mural installation. This included setting up canopies/tents to provide shade, a table of snacks and drinks, and laying out painting supplies for participants.
Mural Painting
Participants spent the day painting their design for the mural.
You will need to be prepared for all weather conditions!
DESIGN THINKING PRESENTATION
When to use Design Thinking Process
When should you use the design thinking process?
- When faced with a complex problem
- When updating or developing something based on a user need.
- When working with groups or situations that would benefit from empathy, creativity, and collaboration.
The Design Thinking presentation’s purpose is to equip the audience with a problem-solving process to add to their toolkit while also familiarizing the audience with design principles and removing barriers to design ideas. This presentation was designed to include the 5 standards of effective pedagogy (joint productive activity, language development, contextualization, challenging activities, and instructional conversation.)
The Design Thinking Presentation included in the resources has been retooled for many audiences and can include a variety of follow up activities.
In Sharpsburg, the Tin Foil Boat Challenge was used as a follow-up activity, as a way to apply Design Thinking.
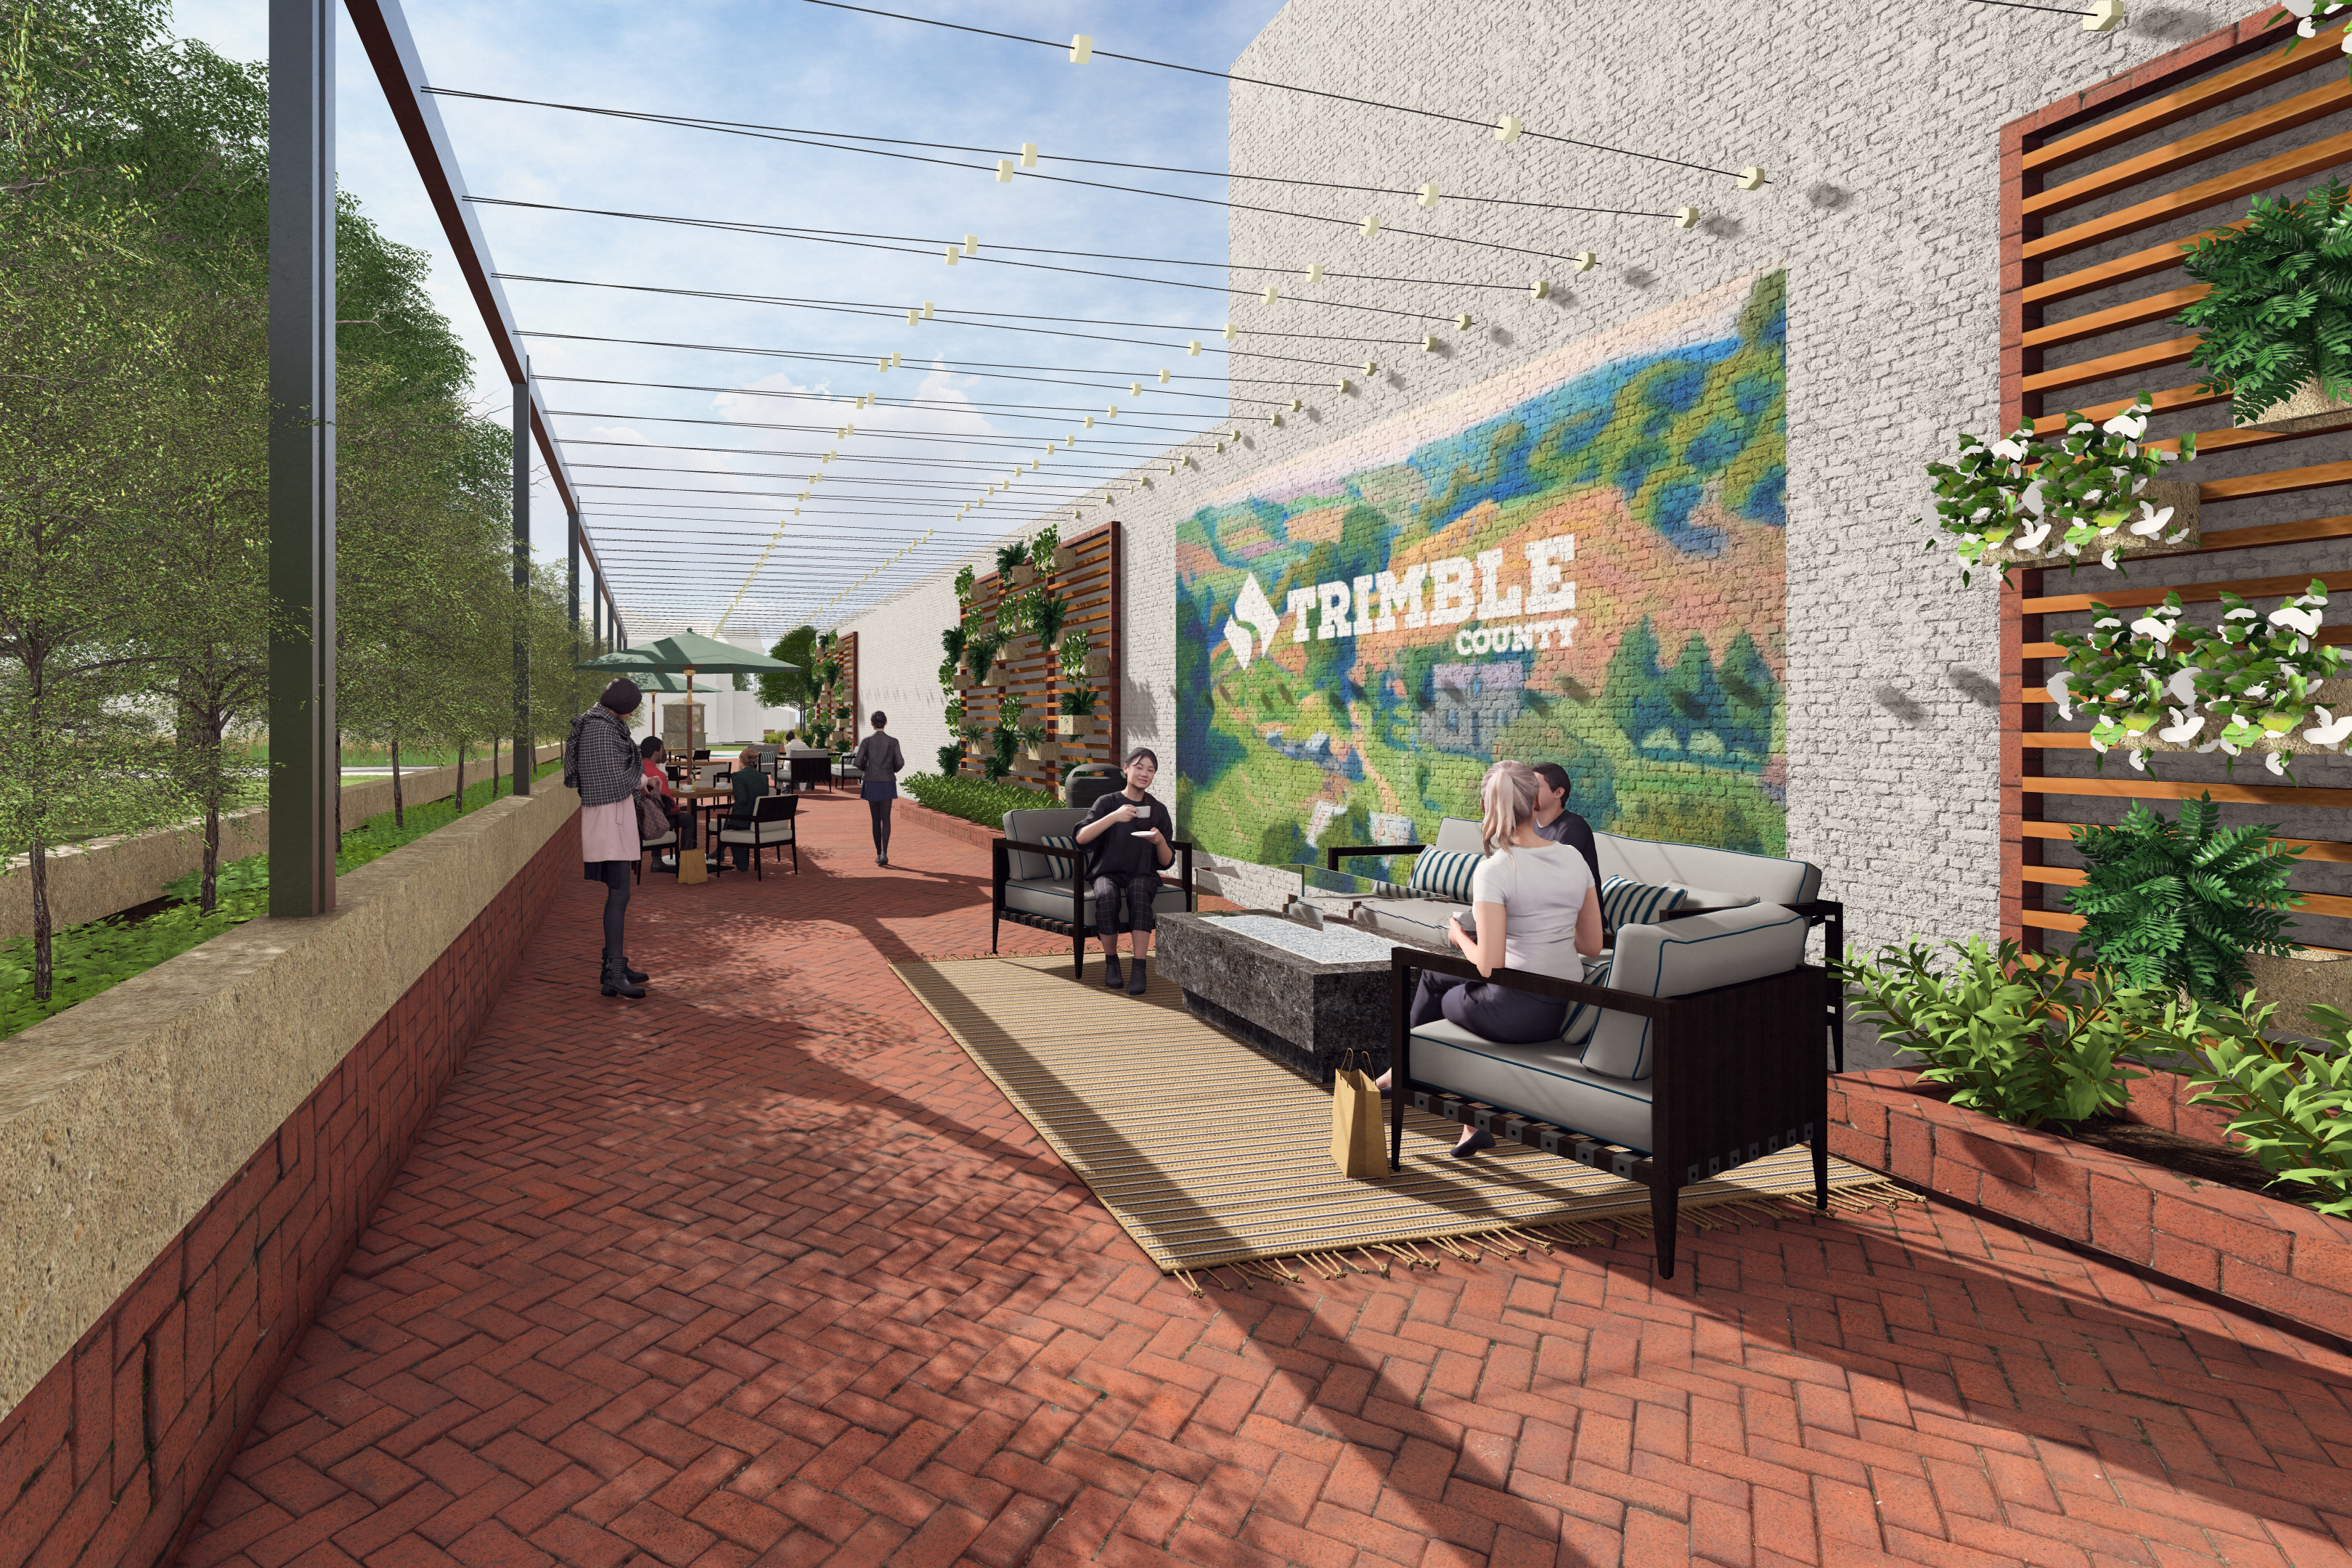
ASPHALT MURAL INSTALLATION
The Asphalt Mural installation was a culmination of the camp’s efforts and offered a placemaking opportunity to community members and camp participants. Successful mural installation involved research and planning.
Research Asphalt Murals
SYDC used the free Art in the Right of Way Toolkit from Made You Look Baltimore.
Brainstorm Mural Design
SYDC used traditional quilt squares to develop the mural design, referencing the iconic quilt squares found on barns and other buildings throughout the area. Learn more about Kentucky Quilt Trails here.
Find Location and Get Permission
Identify locally owned streets in your community and work with city officials for permission to create and install the mural. SYDC identified locally owned streets using the Official Kentucky State Highway Map on Kentucky Transportation Cabinet’s website, then printing out examples of similar mural projects to take to city officials to gain permission.
Purchase Supplies
Research showed that a non-slip paint would be needed. SYDC selected Alpha Grip Non-Slip Paint for Concrete and Asphalt, which is a water-based acrylic paint (for easy application and clean-up) that is pre-mixed with sand and leaves a textured, semi-gloss finish.
After identifying the space the mural will be placed, calculate the amount of paint necessary to cover the space and make the paint purchase. The SYDC decided to purchase 6 colors total: 1 background color (white), and 5 for the other colors in the design (dark blue, light blue, red, yellow, and green).
The following supplies were also used:
- 2 big (>3") brushes per paint color
- 3 small angle tip brushes per paint color
- Two handheld paint cups per color
- A couple of small rollers
- Gorilla tape and painter's tape
- Tape measure
- Buckets for water
Tape Out Design
SYDC worked with city officials to have the designated space blocked to traffic to make the area safe.
SYDC participants each designed their own quilt square to be incorporated into the mural.
SYDC leaders combined participant designs to create the mural. Leaders taped off the mural design with Gorilla tape/painters tape.
Mural Installation
SYDC leaders and participants painted the mural using the supplies mentioned above.
Here are some other useful items to have on hand:
- Cardboard/kneeling mats
- Canopies to provide shade
- Table for supplies
- Cooler with waters and snacks
- Sunscreen
- Paper towels
SYDC worked with CEDIK Extension Associate Jessica Evans, using her expertise as a muralist and artist to finalize the mural. Murals must be allowed to fully dry before being walked/driven over.
RESOURCES AND LINKS
Placemaking efforts, such as mural installation, work to create spaces where people want to live, work, and play. If you are interested in rural placemaking, please visit https://www.ruralplacemaking.com/ to access the rural Placemaking Toolkit to learn about rural placemaking and see examples of placemaking in communities like yours.
Resources
Design Thinking Presentation, Mercedes Fraser, CEDIK
Youth Design Camp PlaceIt! Workshop, Alice Hilton, R.L. Brown Foundation –Adapted from James Rojas
Links
Tin Foil Boat Challenge, Newton Parks, Recreation and Culture
Kentucky Quilt Trails: History, Kentucky Arts Council
Art in the Right of Way Toolkit, Made You Look Baltimore
Official Kentucky State Highway Map, Kentucky Transportation Cabinet
Rural America Placemaking Toolkit, USDA Rural Development and University of Kentucky – Community and Economic Development Initiative of Kentucky
Related Information